Dry Rub Elevates BBQ to Masterpieces
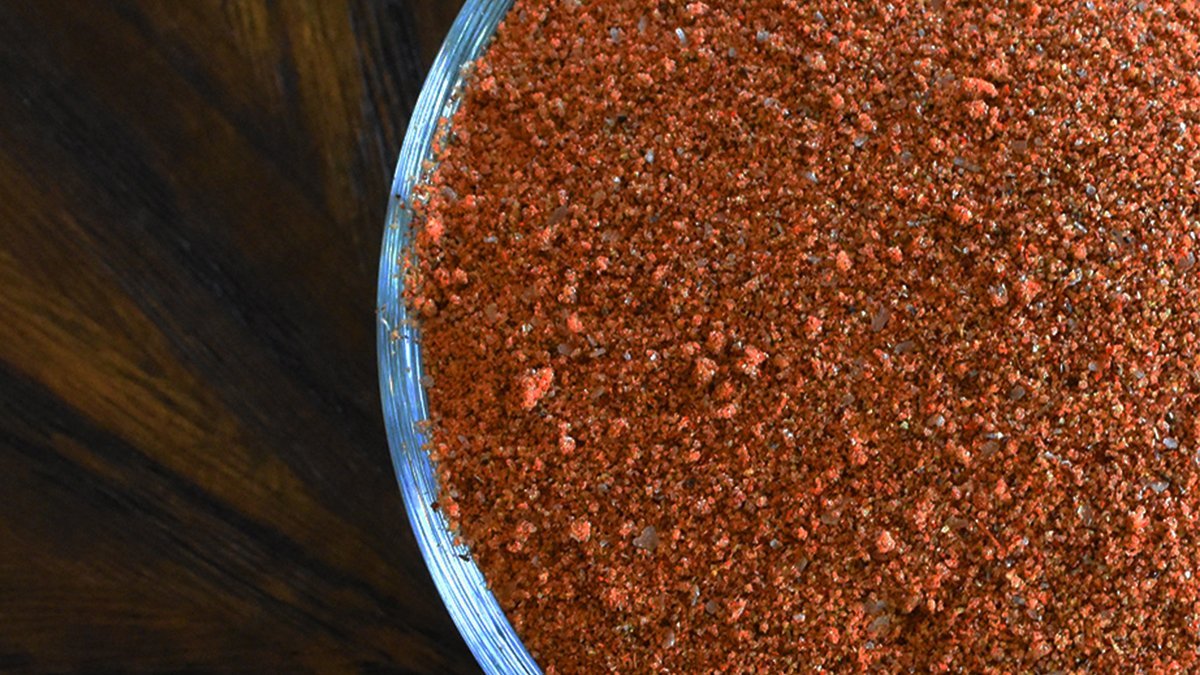
A dry rub is exactly that: a combination of dry ingredients that’s rubbed into the surface of meat before cooking. Unlike liquid marinades, a good dry rub infuses the meat with a layer of savory flavors that stays on the meat throughout the cooking process. That layer seals in all the meat’s delicious juices as it blends with the spices to create a caramelized, irresistible crispy coating on the outside of the meat.
Below is my go-to dry rub recipe that’s great for all types of meat. It packs a powerful punch of flavor and gives meat that distinctive barbecue flavor — it even accentuates the flavor of added barbecue sauces. This dry rub is super easy to make, stores well, and tastes amazing. Here are some more tips on how to use this rub for your next barbecue.
Storing Dry Rub
This homemade dry rub recipe uses ingredients commonly found in the pantry and yields about two cups. Mixing up a batch just before using it is always best because that when it’s freshest; however, you may not need the full two cups.

Storing dry rub for future use is safe and easy. An airtight container is an excellent choice. A resealable freezer bag also works well, though you’ll want to remove as much air as possible before sealing.
Store the container or bag in the pantry or a seasoning cabinet where it’s cool, dry, and void of direct heat and sunlight. Your stored dry rub will keep for up to six months.
How to Use Dry Rub
There’s no secret formula on the amount of rub to use when barbecuing. You can put as much or as little as you want, though I do recommend at least a liberal coating everywhere and on all parts of the meat.

I use a paper towel to pat dry the meat before adding the rub. I then sprinkle a generous amount of the rub on a section of the meat, rubbing it into the meat using my fingers to ensure that it adheres to the meat. I continue to rub the seasoning across sections of the meat until the entire piece if fully covered. I then place the meat on a rack in a pan and add a dusting across the top. The meat is then ready to sit and marinate until it’s time to cook time.
Covered or Uncovered?
A roasting pan with a rack and loosely fitted dome is ideal. The dome helps protect other items in the fridge from getting cross-contaminated and may help to hold the smell of the seasoning at bay. Larger cuts of meat like a pork butt or rack of ribs may not fit well in a roasting pan. For those larger cuts, I recommend a baking sheet with a rack and loose-fitting cover.
You’ll want to avoid using plastic wrap, because it will only get stuck to the rub and may remove the rub altogether. Using a too-tight cover or lid is tricky too, as it may create moisture that can cause the rub to drip off or wash away. The best way to cover is to create a tented cover using aluminum foil. If you prefer, you can also leave the pan in the refrigerator uncovered. There are no written rules that say you must use a cover — just take care to ensure the juices from the meat don’t contaminate other items in the fridge.
Let It Sit
I find that applying the rub in advance of cooking lets the flavors sink in. I often let the meat sit overnight in the refrigerator, mostly because I like to prepare ahead of time.
There’s a small amount of salt in this rub, so I’ve never had an issue with the meat drying out after an overnight stay in the fridge. At a minimum, though, you’ll want to let the rub sit on the meat for at least 30 minutes to an hour before cooking.
Types of Meat
You can use this rub on any kind of meat. It’s especially tasty on ribs – pork or beef, any style. My family especially loves Dry Rubbed Country Style Barbecue Ribs because they’re tender and meatier cuts. Pork shoulders, pork belly, brisket, and chicken are also good choices. The meat you choose is based on your ultimate personal tastes and preferences. So go ahead, get creative and try all types.

This dry rub is great for both grilling and meat smokers. The rub packs a punch in flavor, so you’ll want to adjust the amount you use so that it doesn’t overpower the meat. You won’t need as much for a thin steak or chicken wings on the grill. You’ll want to turn down the heat and take your time. Using heat that’s too high will create a burnt surface because sugar begins to burn at 275° F.
Explore your culinary creativity with different cuts of meat. You can also experiment with different ingredients or adjust the spice levels.
Find what works best for you!
![]()

